
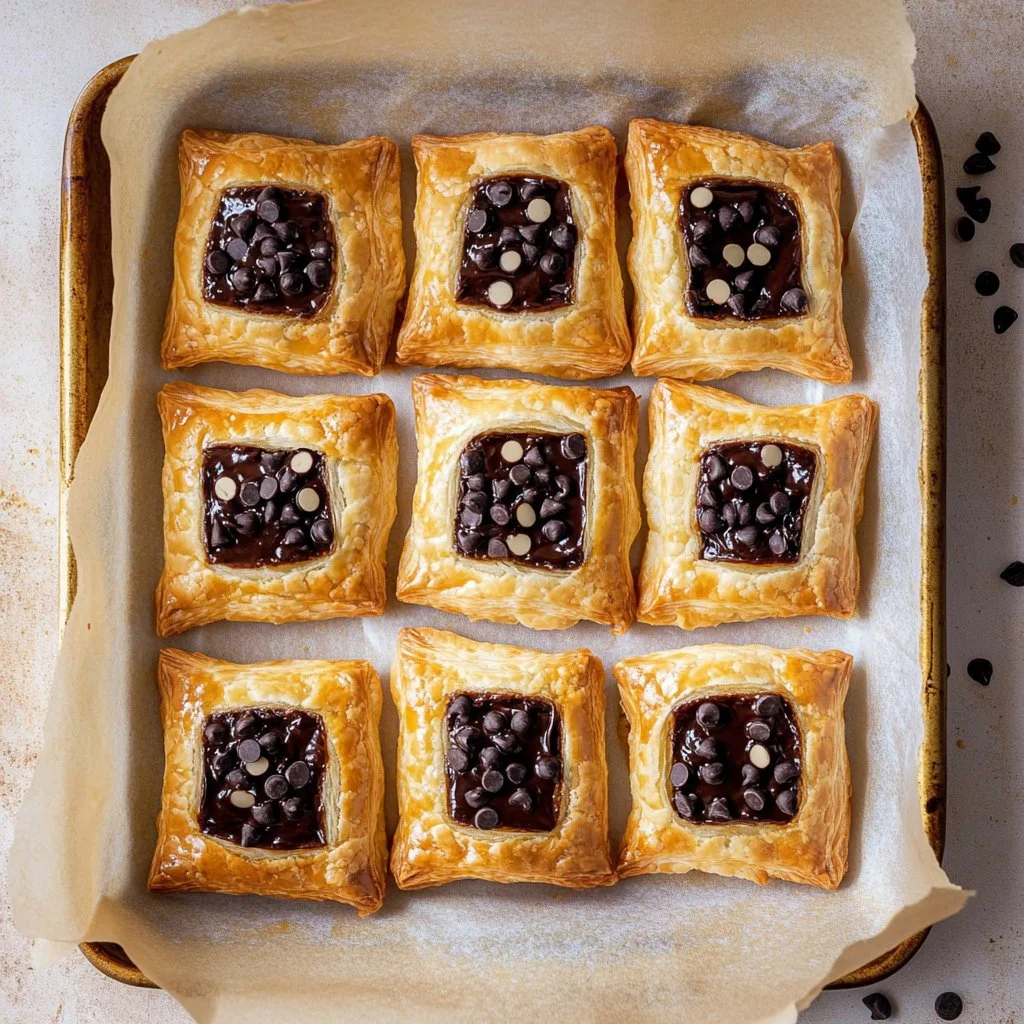
Delicious Chocolate Cream Cheese Danish is a delightful pastry that combines the flaky, buttery texture of puff pastry with a rich, creamy filling and silky chocolate ganache. It’s perfect for breakfast, brunch, or even as a sweet afternoon treat. What makes this recipe particularly enticing is its simplicity; it’s a decadent indulgence that you can whip up quickly using just a few key ingredients. With this step-by-step guide, you’ll be baking and enjoying these comforting danishes in no time, and they’re sure to become a favorite in your home.
Ingredients
To create these heavenly pastries, gather the following ingredients:
- 1 package (17.3 oz / 490 g) frozen puff pastry sheets, thawed but still cold – the base of your danish, full of buttery layers that will rise beautifully.
- 1 large egg – essential for the egg wash to give your pastries that golden hue.
- 1 tablespoon water – combined with the egg to create a smooth and glossy wash.
- 1 tablespoon all-purpose flour, for dusting if needed – this can help with sticking if your workspace is slightly damp.
- 8 oz (225 g) full-fat cream cheese, softened – creamy and tangy, this will form the luscious filling.
- 1/3 cup (65 g) granulated sugar – for a hint of sweetness to balance the cream cheese.
- 1 large egg yolk – adds richness and color to the filling.
- 1 teaspoon vanilla extract – aromatic and sweet, it elevates the flavor profile.
- 1/8 teaspoon fine salt – balances the sweetness perfectly.
- 3/4 cup (130 g) semi-sweet chocolate chips or chopped chocolate – chocolatey goodness that melts beautifully over the cream cheese.
- 1/3 cup (80 ml) heavy cream – for making the silky ganache.
- 1 teaspoon powdered sugar, optional for dusting – adds a touch of elegance and sweetness.
Cooking Time & Tips For Delicious Chocolate Cream Cheese Danish
When it comes to preparing Delicious Chocolate Cream Cheese Danish, you have the option to go quick or take your time. Quick preparation usually involves using pre-made ingredients and ready-to-bake pastries. In contrast, a slower preparation allows for a more hands-on approach, creating a more complex flavor profile with homemade components.
Here are some practical tips for success:
Thaw Properly: Make sure your puff pastry has thawed enough to unfold easily, but still feels cool, to prevent it from becoming too soft.
Measure Ingredients Precisely: This ensures that your filling will be creamy and not runny.
Avoid Overbaking: Keep an eye on your pastries; you want them puffy and golden, not burnt.
Chill Before Baking: This helps the pastry keep its shape during baking and produces a flakier texture.

Step-by-Step Directions
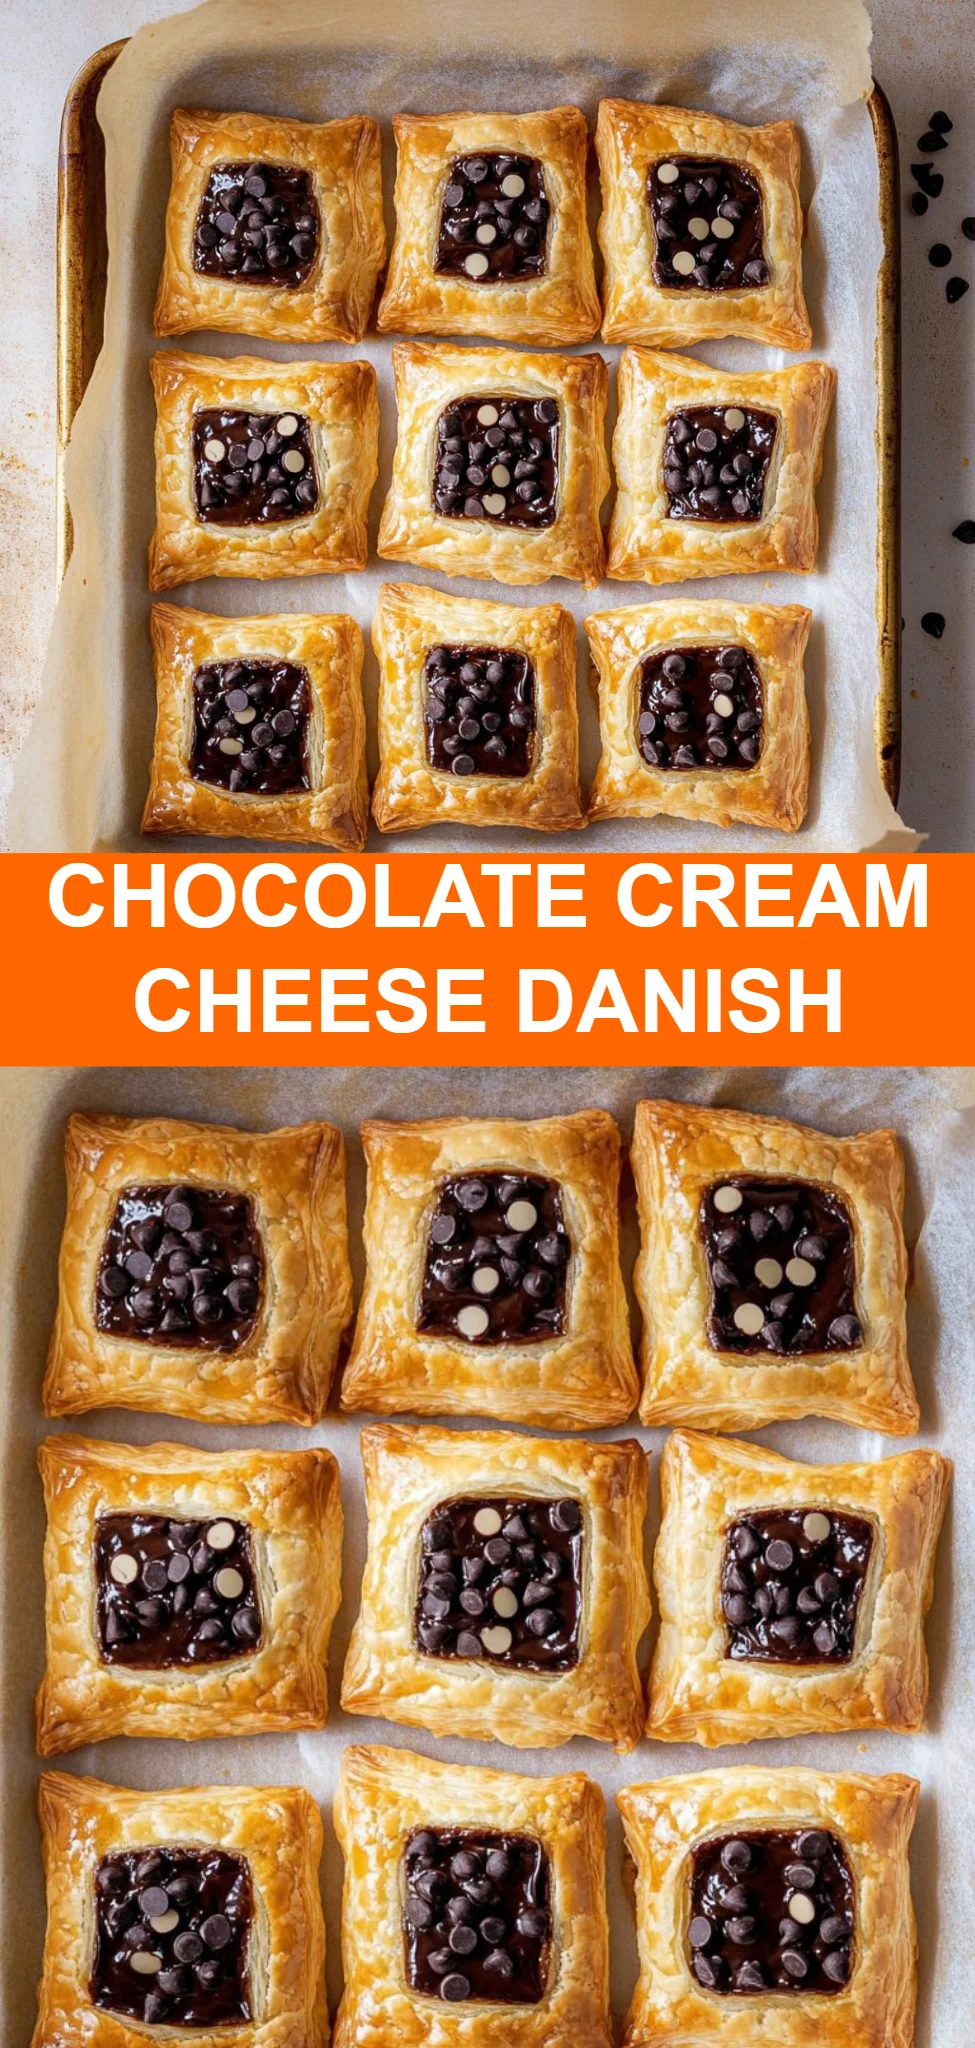
Thaw the Puff Pastry: Begin by thawing the puff pastry according to the package directions until it unfolds without cracking but still feels cool and firm.
Prepare the Filling: In a mixing bowl, beat together the cream cheese, sugar, egg yolk, vanilla extract, and salt until the mixture is smooth and creamy. Don’t forget to scrape down the sides of the bowl to ensure an even consistency.
Preheat the Oven: Preheat your oven to 400°F (200°C). While the oven warms up, line two baking sheets with parchment paper to prevent sticking.
Cut the Pastry: Roll out the pastry sheets and cut them into 12 rectangles. Use a sharp knife to score a 1/2-inch border inside each rectangle and prick the centers with a fork to allow steam to escape.
Add the Filling: Spoon about 1 tablespoon of the cream cheese filling into the center of each pastry and gently spread it inside the scored border, being careful not to touch the edges.
Chill Before Baking: Place the trays in the refrigerator to chill for 10 minutes. This step will keep the pastries from spreading too much during baking and enhance their flakiness.
Egg Wash: In a small bowl, whisk the egg with the tablespoon of water to create an egg wash. Carefully brush this wash only on the pastry borders to achieve that stunning golden color when baked.
Bake: Place the pastries in the preheated oven and bake for 16-18 minutes, rotating the pans halfway through, until the edges are puffed and deeply golden.
Create the Ganache: While the danishes are baking, warm the heavy cream in a saucepan until it’s steaming. Pour it over the chocolate in a separate bowl, let it sit for about a minute, and then stir until the mixture is smooth and glossy.
Cool and Assemble: Once the danishes are done, allow them to cool for at least 15 minutes. Carefully spoon the chocolate ganache over the center of the cream cheese filling. For an extra touch, you can dust lightly with powdered sugar if desired.
Serving Suggestions & Occasions
Delicious Chocolate Cream Cheese Danish is versatile enough for various occasions. These pastries are perfect for a cozy Sunday brunch, lavish holiday gatherings, or simply as a sweet treat to accompany your afternoon coffee or tea. They also make beautiful additions to dessert tables and can be enjoyed fresh or reheated slightly in an oven or microwave.
Common Mistakes For Delicious Chocolate Cream Cheese Danish
When making Delicious Chocolate Cream Cheese Danish, some common pitfalls to avoid include:
Ignoring Thawing Times: Not allowing the puff pastry to thaw properly can lead to impossibly dry or overly wet dough.
Filling Overload: Adding too much filling can cause the danish to burst during baking, resulting in a messy and unappealing outcome.
Inadequate Chilling: Skipping the chilling step before baking can lead to a flat danish rather than the desired puff and flakiness.
Neglecting Egg Wash: Not using the egg wash can give your pastry a pale and unappetizing appearance.
Healthier Alternatives & Variations
While the traditional recipe is irresistible, you might want to experiment with healthier alternatives and variations:
Use Whole Wheat Pastry: Substitute regular puff pastry with whole wheat puff pastry for a healthier option.
Fruit Filling: Instead of chocolate, try adding freshberries or a fruit compote for a fruity twist.
Dairy-Free Options: You can use a dairy-free cream cheese alternative and coconut cream in place of heavy cream for the ganache to make it dairy-free.
Nuts and Spices: Add chopped nuts for crunch or cinnamon for a warm, aromatic flavor profile.
FAQs
Can I make the filling in advance?
Yes, you can prepare the cream cheese filling ahead of time and store it in the refrigerator for a day.How can I store leftovers?
Store any leftovers in an airtight container in the refrigerator for up to 2 days. Reheat briefly before serving.Can I freeze these danishes?
Yes, you can freeze unbaked danishes. Just freeze them on a baking sheet first, then transfer to a freezer bag, and bake directly from frozen when ready.What can I substitute for cream cheese?
You can use ricotta cheese or a dairy-free cream cheese alternative for a different flavor.Why did my pastries not puff up?
This could happen if the dough was too warm going into the oven or not enough cold air was trapped within the layers.Can I add extra flavor to the ganache?
Absolutely! Try adding a splash of espresso or a hint of orange zest for a delightful twist.
Conclusion
With its delightful layers and rich flavors, the Delicious Chocolate Cream Cheese Danish is a treat you won’t want to miss. Whether you’re hosting brunch or just treating yourself, this recipe will easily become a beloved staple in your kitchen. Prepare to indulge in the comfort and satisfaction of freshly baked pastries that are sure to impress any guest! So why wait? Dive in and get baking today!


