
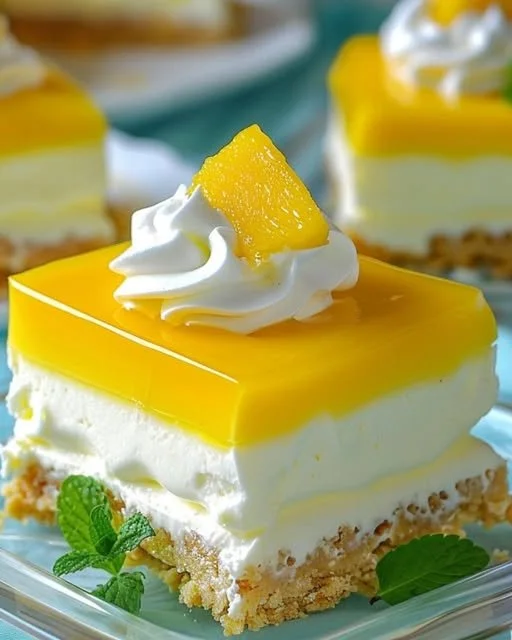
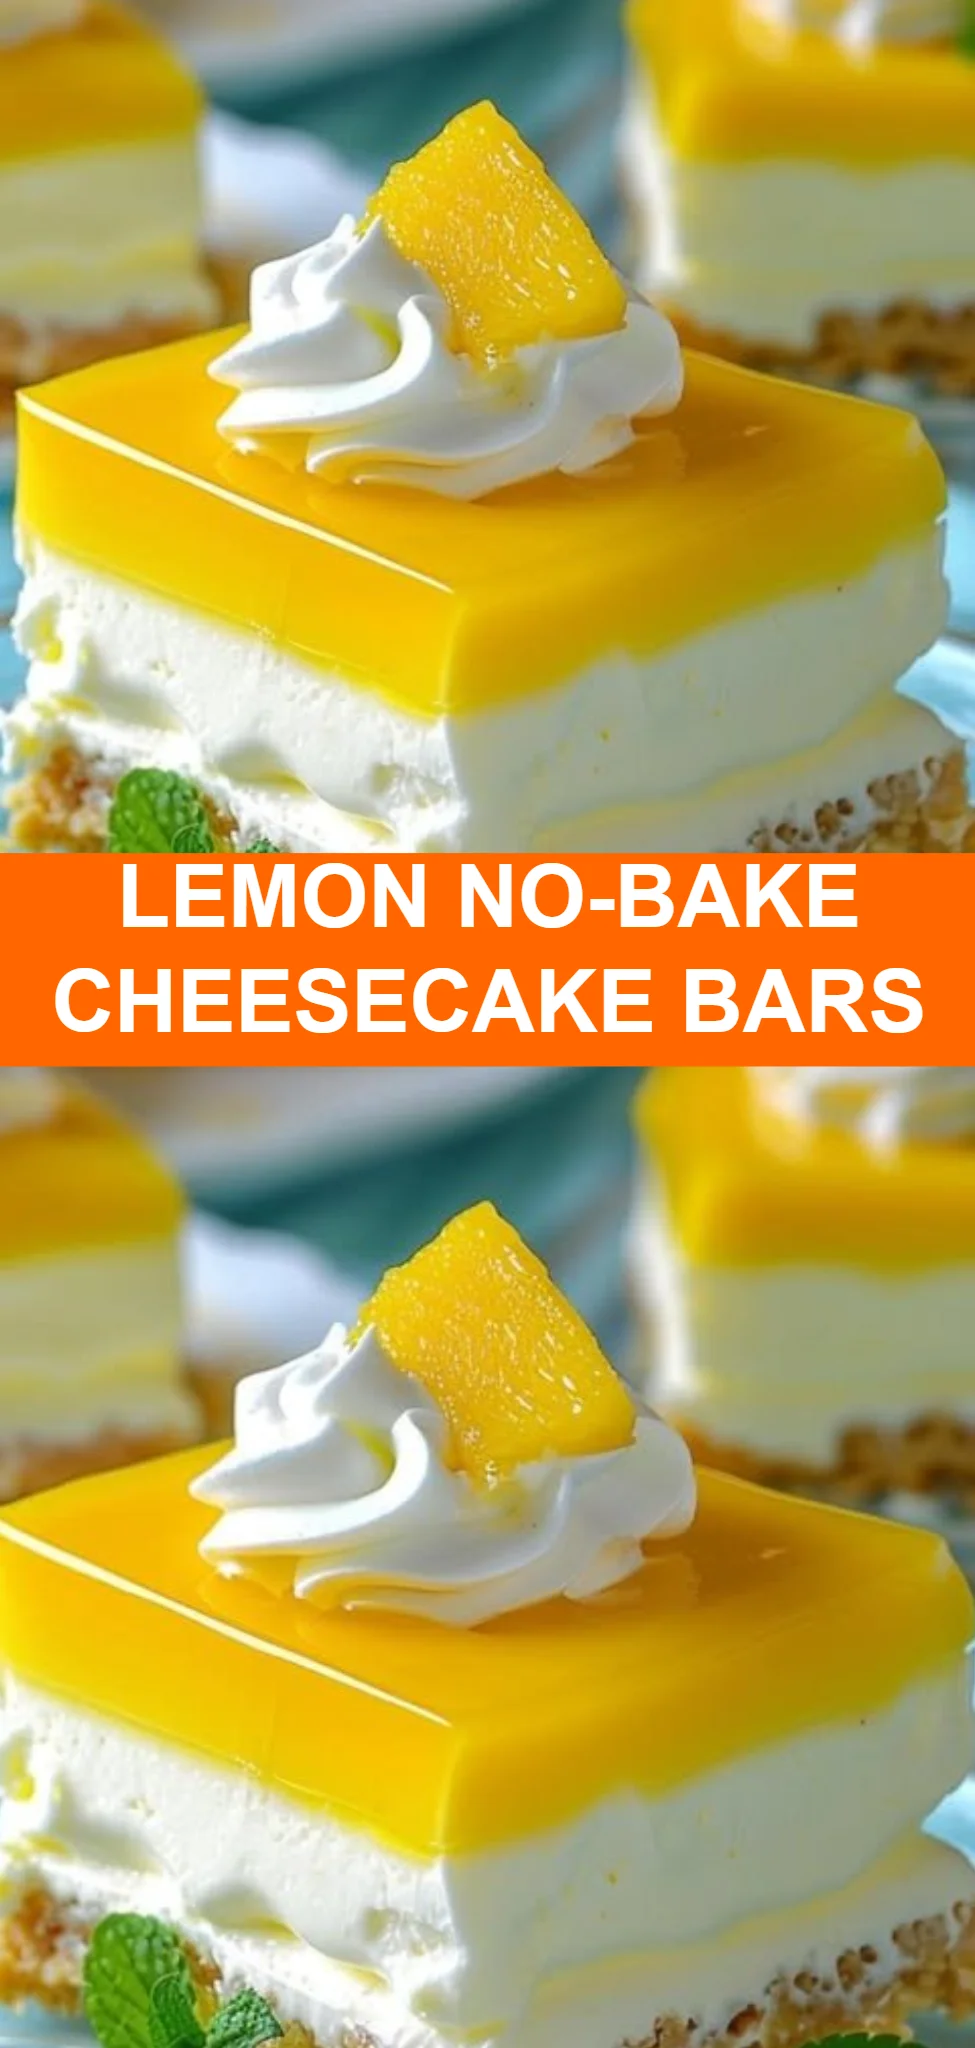
No-Bake Lemon Cheesecake Bars are the perfect sweet treat to brighten your day. These bars combine a creamy, tangy filling with a crunchy graham cracker crust, offering a delightful contrast that is both refreshing and satisfying. With their easy preparation and no-bake nature, these bars are a fantastic dessert option for any occasion, whether it’s a family gathering, a picnic, or simply a weekend indulgence. This recipe is sure to become a favorite, as it balances nostalgic comfort with bright flavors, making it a must-try for dessert enthusiasts.
Ingredients
To create the perfect No-Bake Lemon Cheesecake Bars, you’ll need:
Graham Cracker Crust: 2 cups of graham cracker crumbs provide a crisp, buttery base; 1/2 cup of melted unsalted butter adds richness.
Cheesecake Filling: The heart of these bars is made from 16 oz (2 packages) of softened cream cheese, which creates an incredibly smooth and creamy texture. You’ll also need 1 cup of powdered sugar for sweetness, 1 teaspoon of vanilla extract for warmth, 1 tablespoon of lemon zest for zing, and 1/4 cup of fresh lemon juice for that refreshing tang. Finally, 1 cup of heavy whipping cream, whipped to stiff peaks, adds lightness and volume to the filling.
Lemon Topping: For an extra burst of flavor, prepare a tangy lemon topping with 1/2 cup of lemon juice, 1/2 cup of water, 1/2 cup of granulated sugar, 2 tablespoons of cornstarch for thickening, and another tablespoon of lemon zest to tie everything together.
Garnishes: To finish, you will need whipped cream, lemon slices, and additional lemon zest for decoration.
Cooking Time & Tips for No-Bake Lemon Cheesecake Bars
Creating No-Bake Lemon Cheesecake Bars is a straightforward process. This recipe is perfect for both quick and leisurely cooking styles. If you’re in a rush, the quick prep time (approximately 30 minutes, not including chilling time) allows you to whip up these bars in no time. However, if you wish to savor the experience, take your time by enjoying the mixing, folding, and layering processes.
For best results, ensure that your cream cheese is softened to room temperature before mixing. This step will help create a smooth filling without lumps. Additionally, folding in the whipped cream gently is essential to maintain the fluffy texture of the cheesecake. Lastly, patience is key—letting the bars chill for at least 4 hours will yield the best results, allowing all the flavors to marry beautifully.
Step-by-Step Directions
For the Crust
In a medium bowl, combine the graham cracker crumbs and melted butter. The crumbs should absorb the butter, transforming into a moist mixture. Press this mixture firmly and evenly into the bottom of a 9×9-inch baking pan, taking care to ensure it covers the entire base without any gaps. Don’t rush this step; a solid crust is essential for structural integrity. Once pressed, place the pan in the refrigerator to chill while preparing the filling.
For the Cheesecake Filling
In a large mixing bowl, beat the softened cream cheese until it’s smooth and creamy, reminiscent of luxurious clouds. Gradually add the powdered sugar, mixing until you achieve a perfect combination. Stir in the vanilla extract, freshly grated lemon zest, and lemon juice, which will add brightness and richness to the cream cheese. Now, gently fold in the whipped cream until fully incorporated, ensuring not to deflate the mixture. This step is crucial for achieving that light, airy texture that makes these bars irresistible. Once combined, spread the cheesecake filling blissfully over the chilled graham cracker crust. Smooth the top with a spatula, creating an even, inviting surface.
For the Lemon Topping
In a medium saucepan, combine the lemon juice, water, granulated sugar, cornstarch, and the addition of lemon zest. Cook over medium heat, stirring constantly, until the mixture thickens and becomes translucent—this should take about 3 to 5 minutes. Once it reaches the desired consistency, remove it from the heat and let it cool slightly before pouring it evenly over the cheesecake layer. This bright topping adds a stunning visual appeal and a burst of flavor that will elevate your cheesecake bars.
Chilling
Now comes the waiting game. Refrigerate the assembled cheesecake bars for at least 4 hours or overnight if you can resist the urge to dive in right away. This chilling time ensures that the bars set perfectly and the flavors develop harmoniously.
Serving
Before serving, compose an elegant display by garnishing with freshly whipped cream, lemon slices, and a sprinkle of lemon zest to create a stunning contrast against the creamy filling. Cut the bars into squares or rectangles, and serve them chilled for an unforgettable dessert experience.
Serving Suggestions & Occasions
No-Bake Lemon Cheesecake Bars are incredibly versatile when it comes to serving options. These bars are perfect for summer barbecues, birthday parties, or family gatherings, offering a refreshing treat that will please both kids and adults alike. Pair them with a cup of iced tea or lemonade for a delightful afternoon snack.
Additionally, these bars can be a beautiful ending to an elegant dinner party, or even a sweet addition to a potluck buffet. Their bright lemon flavor and creamy texture will leave your guests raving and reaching for seconds.
Common Mistakes for No-Bake Lemon Cheesecake Bars
While this recipe is straightforward, there are a few common pitfalls to avoid. First, be sure to thoroughly soften your cream cheese before mixing, as lumps can ruin the creaminess of the filling. Second, avoid overmixing after adding the whipped cream; gentle folding will keep the filling light and airy. Lastly, do not skip the chilling step! Patience is key; skipping this can lead to a runny filling that won’t set properly.
Healthier Alternatives & Variations
For those looking to lighten up the recipe, consider substituting Greek yogurt for part of the cream cheese. This will still give you that creamy texture while reducing calories. You can also use honey or maple syrup instead of powdered sugar for a natural sweetener.
Variations can also be made to suit your palate. Mixing in different flavors, such as berries or even chocolate, can create a delectable twist on the classic lemon flavor. Consider adding a layer of fresh fruit between the cheesecake layer and the lemon topping for an extra burst of freshness.
FAQs
Can I use another type of cookie for the crust?
Yes! Shortbread, vanilla wafers, or even Oreos can create deliciously different crusts.How long can I store these bars?
When stored in an airtight container in the refrigerator, they can last up to a week.Can I freeze No-Bake Lemon Cheesecake Bars?
Yes, you can freeze them. Just be sure to wrap them tightly to prevent freezer burn.What can I use instead of heavy whipping cream?
Coconut cream can be a great alternative for a dairy-free option.Can I substitute fresh lemon juice with bottled juice?
Fresh lemon juice has a brighter flavor and is recommended, but bottled juice will work in a pinch.How can I ensure the bars set properly?
Allow sufficient chilling time and make sure to follow the recipe measurements closely for best results.
Conclusion
If you’re looking for a refreshing and delightful dessert that’s easy to prepare, No-Bake Lemon Cheesecake Bars are waiting for you. Their zesty flavor and sumptuous texture make them an irresistible choice that everyone will love. Don’t wait any longer—gather the ingredients and create your batch today; you won’t regret it!


